
Set Up a Practical Chart of Accounts
Bookkeeping, Chart of Accounts
How to Set Up a Clear, Practical Chart of Accounts for Your Business
A well-organized chart of accounts is the backbone of any bookkeeping system. This guide walks you step by step through setting it up so your financial reports are clear, consistent, and genuinely useful for decision-making.
What Is a Chart of Accounts and Why It Matters
Your chart of accounts (often called a COA) is the master list of every account you use to record money coming in and going out of your business. Think of it as the index of your financial story: if it is clear and well-structured, you can quickly see where your money goes, how much you earn, and what your business is worth at any point in time.
When your chart of accounts is set up thoughtfully from the start, you avoid messy categories, confusing reports, and time-consuming clean-up at tax time. Instead, you get reliable numbers you can trust to make informed decisions about pricing, hiring, and growth.
Step 1: Understand the Main Account Categories
Most bookkeeping systems group accounts into five core categories. These categories form the structure of every standard chart of accounts:
Assets – What your business owns or controls (cash, bank accounts, equipment, inventory, accounts receivable).
Liabilities – What your business owes (credit cards, loans, taxes payable, accounts payable).
Equity – The owner’s interest in the business (owner’s capital, retained earnings, owner draws or distributions).
Income (Revenue) – Money earned from your main activities (product sales, service income, consulting fees).
Expenses – Costs of running your business (rent, software subscriptions, wages, advertising, utilities).
Every account you set up will sit under one of these five headings. Your bookkeeping system may show them as sections in your chart of accounts screen or when you run financial reports like the balance sheet and profit and loss statement.
Step 2: Decide on a Numbering Structure (Optional but Helpful)
Many businesses use account numbers to keep their chart of accounts tidy and easy to scan. While not always required, a simple numbering system makes sorting and searching more intuitive, especially as your list grows.
A common approach is to reserve a block of numbers for each category, for example:
1000–1999: Assets
2000–2999: Liabilities
3000–3999: Equity
4000–4999: Income
5000–7999: Expenses
Within each block, you can leave gaps between numbers so you can add new accounts later without disrupting the entire sequence. For example, you might use 1010 for “Checking Account,” 1020 for “Savings Account,” and 1100 for “Accounts Receivable.”
Step 3: Start with Essential Accounts in Your Bookkeeping System
Most modern bookkeeping platforms (such as QuickBooks, Xero, or Wave) provide a default chart of accounts template. Use this as a starting point rather than building everything from scratch, then tailor it to your business. Begin with the core accounts you know you will use regularly:
At least one bank account (e.g., “Business Checking”).
A sales or service income account that reflects your primary revenue stream.
Key expense accounts such as rent, utilities, software, advertising, and payroll or contractor costs.
In your software, you will usually go to a settings or accounting menu, find “Chart of Accounts,” and then add, edit, or deactivate accounts. As you review the default list, remove anything that clearly does not apply, and rename accounts so the wording makes sense in your everyday language.
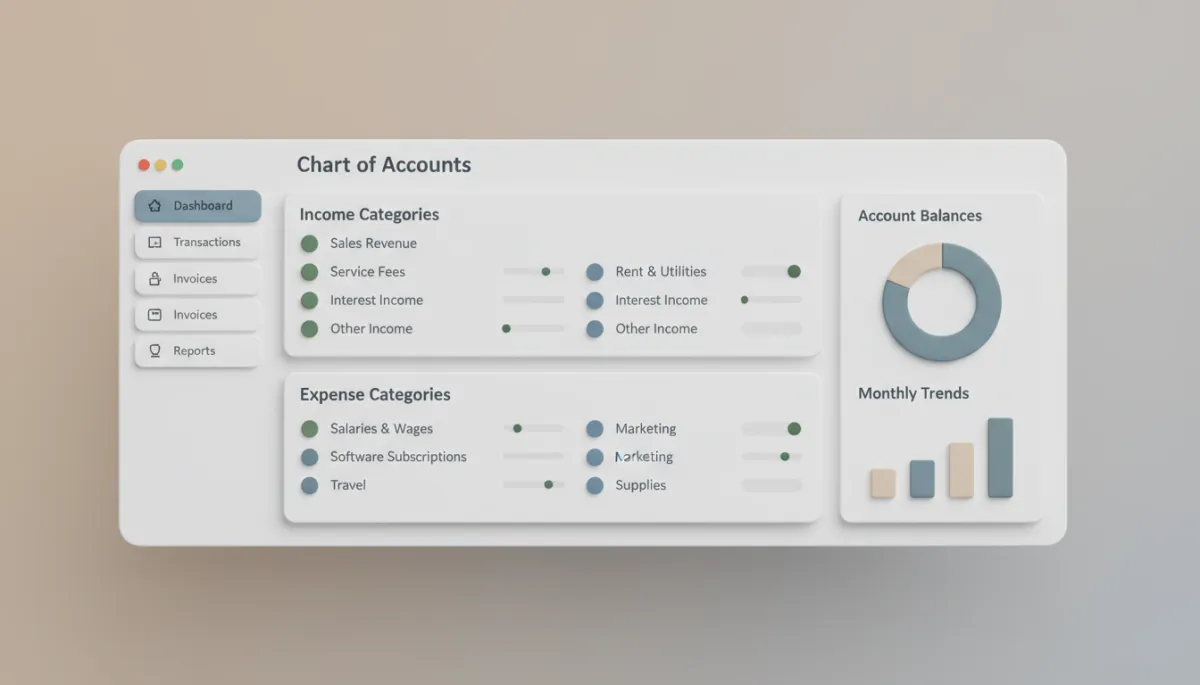
A streamlined chart of accounts makes everyday coding of transactions faster and more accurate.
Step 4: Tailor Accounts to How You Actually Manage the Business
Your chart of accounts should reflect how you think about your business day-to-day. If you manage different product lines or services separately, create distinct income and key expense accounts for each. For example:
“Website Design Income” and “Website Design Subcontractors”
“Coaching Income” and “Coaching Materials”
The goal is to strike a balance: detailed enough to answer your questions, but simple enough that you are not overwhelmed by dozens of rarely used accounts. If you are unsure, start broader and add more specific accounts only when you consistently need to separate certain types of income or expenses.
💡 Pro Tip: Before creating a new account, ask yourself, “Will I use this often, and will it change how I make decisions?” If not, consider using an existing account instead.
Step 5: Keep Names Clear, Consistent, and Easy to Understand
Clear naming is one of the simplest ways to make your chart of accounts user-friendly. Use plain language and be consistent with how you label accounts. For example, choose either “Subscriptions – Software” and “Subscriptions – Memberships,” or “Software Subscriptions” and “Membership Subscriptions,” but avoid mixing styles.
Avoid vague labels like “Miscellaneous” or “General Expense” wherever possible. These catch-all accounts quickly become dumping grounds that make your reports less meaningful. If you must use them temporarily, review and reclassify those entries regularly.
Step 6: Review, Refine, and Document Your Chart of Accounts
Once your initial chart of accounts is in place, take a moment to review it from the perspective of future you. Can you easily see:
Where your main income streams appear?
Which costs are directly tied to delivering your products or services?
Which expenses are overhead, such as rent or admin tools?
It is also wise to create a simple one-page reference that lists each account and a brief description of when to use it. This “mini manual” keeps your bookkeeping consistent, whether you are doing it yourself or handing it off to a team member or external bookkeeper later.
Bringing It All Together
Setting up your chart of accounts in your bookkeeping system is not just a technical task; it is a strategic one. By understanding the main categories, choosing a simple structure, tailoring accounts to how you run your business, and keeping names clear and consistent, you lay the groundwork for reliable, insightful financial reporting.
Invest a little time now to design a chart of accounts that truly fits your business, and you will save hours of confusion later—while gaining a much sharper view of your financial health.
